Monday, November 5, 2012
The Second Cup -- Part 4
Today we found a new attachment for the ball drill, which was something like sandpaper, used for shining wood. I tried it on the inside of my cup, and with only 10 minutes work on the machine I saved myself at least 3-4 hours of hand sanding. I still had to sand the inside of the cup afterwards to make the last little rough spots go away, but this machine really did a lot of work for me!
Here the cup is finished on the inside, so now I have to work on sanding down the outside with fine sandpaper. This goes pretty fast, as the outside of the cup is easier to work on than the inside. I sanded the outside for about 1 hour today.
The next step is to drill holes in the handle. You can see in the picture above that the handle is the only thing left I haven't sanded, and that's because you have to drill the holes first in case of chipping. Also, you would essentially be sanding it twice since the insides of the holes themselves need sanding.
After the holes were drilled, I used the little belt sander to shape out the handle as I wanted it. I decided to put a bit of a rounded edge on the sides, which proved much harder than I thought. It's nearly impossible to get both sides even, at least with the little experience I have. When it was as good as I could get it, it was on to hand sanding again, this time the insides of the holes. This is my least favorite part, because I always end up scraping my weak, "pretty" knuckles, or get slivers!
Now the cup is very nearly finished, only a little more hand sanding to smooth out the rough edges, and then it's on to staining. It should be finished next week, making this a record-fast cup for me (under 14 hours work)!
Labels:
cup,
handicrafts,
handmade,
homemade,
machinery,
step-by-step,
wood,
woodcarving,
woodworking
Tuesday, October 30, 2012
The Second Cup -- Part 3
| Snowy greens |
This is the sanding machine I was using today. There are two sanding options, the wheel on the right, and the belt on the left. I decided to use the belt and platform to finish shaping the outside of my cup.
| I love this orange table! |
Now I need to use the huge belt sander from last week to finish off the bottom, rounding out the sides as you can see they're uneven. I forgot to take a picture when it was done...oops!
You can see a bit more of the outside, I've finished it off. Now it's on to hand sanding the inside, which takes longer than the rest of the cup. Didn't someone once say "patience is a virtue"?
Labels:
changing seasons,
cup,
handicrafts,
handmade,
homemade,
machinery,
sanding,
snow,
winter,
wood,
woodcarving,
woodworking
Monday, October 29, 2012
Flesk og Duppe -- Salted Side Pork with Gravy
Tonight we had a craving for some traditional Norwegian food. Now, usually that means white food: boiled potatoes, white sauce, and some sort of fish or meat. It even tastes white, meaning bland. But sometimes the Norwegians get somethings right in the kitchen, and Flesk og Duppe is one of those meals.
If you like bacon, you'll like tonight's dinner; salted side pork with gravy, served with boiled potatoes and oven roasted carrots.
First you'll have to get a hold of some salt pork. Your butcher should be able to help you out, otherwise if absolutely necessary you can use thick-sliced bacon. The only difference between salt pork and bacon is that bacon is also smoked in addition to being salted. If your meat does not come already sliced, throw it in the freezer for about 15 minutes before trying to cut it, it will be much easier to cut.
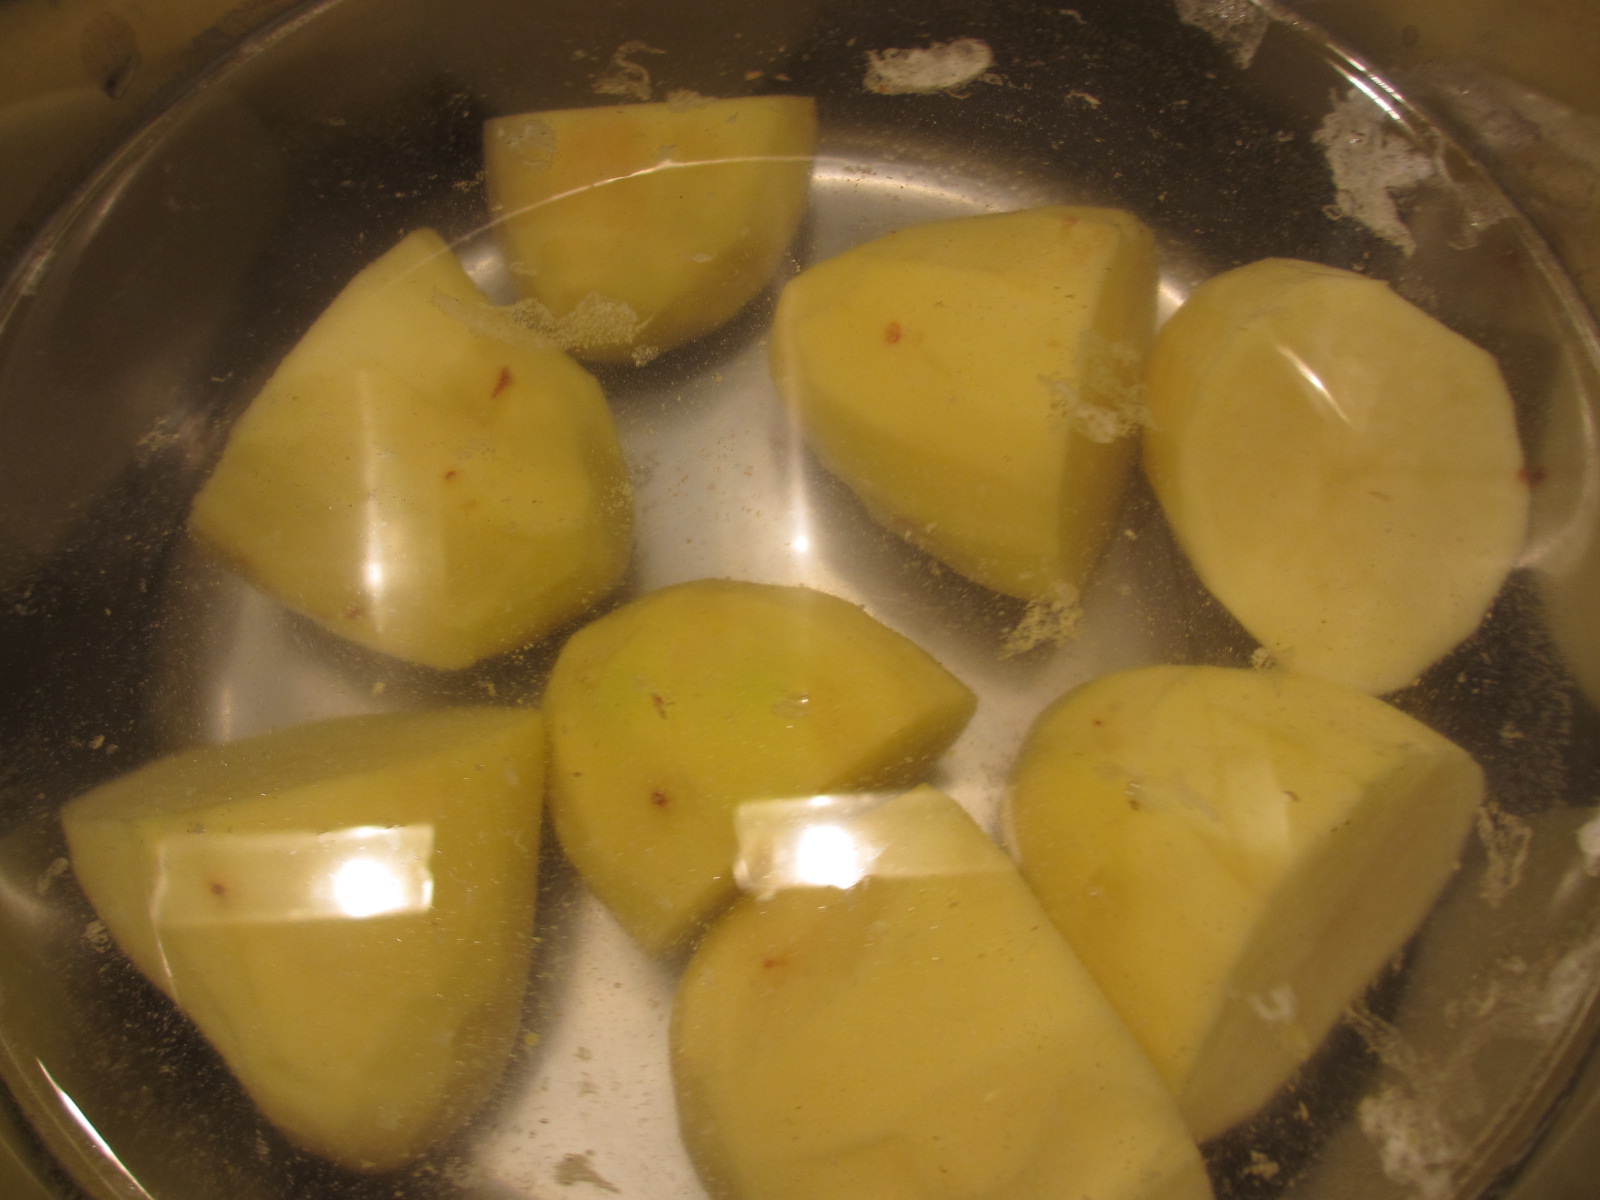
Next you have to bring a big pot of water to a boil for your potatoes. Throw them in and cook until they are tender, usually around 30 minutes.
The carrots are next. Take a big sheet of tin foil, and fold it in half so it's doubled up. Then place your carrots on the tin foil, drizzle with a little olive oil, sprinkle with salt and pepper, and they're ready to go in the oven at 200 C or about 390 F. Bake them for about 30-45 minutes, depending on the size of your carrot chunks. I used baby carrots because I'm lazy!
You will also want to make a Bechamel sauce (white sauce) at this point. Take 2 tablespoons butter and melt it in a saucepan. Add 2 tablespoons flour and stir until it's all clumpy. Add 1 cup warmish milk (not cold, but not hot; room temp is fine), and stir to a boil. Keep stirring frequently as it simmers for 5-10 minutes, or until it's good and thick. I like to make my sauce over medium temperature, to prevent it from burning to the bottom of my thin pot, but it takes a lot longer.
Fry up your salt pork in a hot pan, just as you would bacon. It's done when it's golden on both sides. The next step may be hard for some of you, but it's a crucial step. Pour the fat from the pan into the white sauce, and stir. If you didn't get very much fat, throw 2 tablespoons butter into the frying pan, scraping up the tasty burnt-on bits, and pour that into the sauce as well. Add a dash of pepper. Taste the sauce, it should be a touch salty when it's done.
If you like bacon, you'll like tonight's dinner; salted side pork with gravy, served with boiled potatoes and oven roasted carrots.
Next you have to bring a big pot of water to a boil for your potatoes. Throw them in and cook until they are tender, usually around 30 minutes.
The carrots are next. Take a big sheet of tin foil, and fold it in half so it's doubled up. Then place your carrots on the tin foil, drizzle with a little olive oil, sprinkle with salt and pepper, and they're ready to go in the oven at 200 C or about 390 F. Bake them for about 30-45 minutes, depending on the size of your carrot chunks. I used baby carrots because I'm lazy!
You will also want to make a Bechamel sauce (white sauce) at this point. Take 2 tablespoons butter and melt it in a saucepan. Add 2 tablespoons flour and stir until it's all clumpy. Add 1 cup warmish milk (not cold, but not hot; room temp is fine), and stir to a boil. Keep stirring frequently as it simmers for 5-10 minutes, or until it's good and thick. I like to make my sauce over medium temperature, to prevent it from burning to the bottom of my thin pot, but it takes a lot longer.
Fry up your salt pork in a hot pan, just as you would bacon. It's done when it's golden on both sides. The next step may be hard for some of you, but it's a crucial step. Pour the fat from the pan into the white sauce, and stir. If you didn't get very much fat, throw 2 tablespoons butter into the frying pan, scraping up the tasty burnt-on bits, and pour that into the sauce as well. Add a dash of pepper. Taste the sauce, it should be a touch salty when it's done.
Friday, October 26, 2012
BLT's with a Twist
Everyone gets a craving for bacon sometimes, and that time is now! So here's my BLT with a twist!
It's a really simple twist, but it's also really good. Simply make your BLT inside a pita! Cut your pita in half so you can open it up like a sandwich, but don't cut the pita all the way through. You want some pita left intact in the bottom to keep your sandwich from falling apart.
Fill your pita with a lot of lettuce, some tomato, and some bacon. We used this much bacon for two pitas, but I recommend you use more. The more the better, actually! Then simply enjoy your dinner, reveling in the bacon-y goodness.
| Mmmmmm, bacon |
Fill your pita with a lot of lettuce, some tomato, and some bacon. We used this much bacon for two pitas, but I recommend you use more. The more the better, actually! Then simply enjoy your dinner, reveling in the bacon-y goodness.
| Yummers! |
Thursday, October 25, 2012
Beef with Vegetables
| Orange "eco-friendly" OBH-Nordica ceramic pan |
| The supplies, alongside a 5" utility knife |
First, chop, chop, chop, until everything looks like this:
Throw the green and orange peppers, and onion into the pan over medium-high heat.
| Gimme meat! |
Then, slice up your beef into small strips, so it looks like this:
When the onions begin to go limp (after about 2-3 minutes, if your pan is hot enough), make room in the center for your meat. Don't stir quite yet, let the meat lose most of it's pink.
The meat is not-quite pink anymore, so now I stirred it all up. Next step is to throw the leek and tomato into the pan.
Even if you don't like tomatoes, don't be afraid to try them in this dish! Just choose a small tomato and chop it finely; it will disappear and become part of the sauce, which adds excellent flavor.
When the tomatoes are hard to find, and the vegetables are cooked to your liking, take out some soy sauce. Pour as much or as little as you like. Start out with a little though...you can always add more, but never take away! Then throw a teaspoon of sugar into the pan and stir like you're mad.
If you like them, put some water chestnuts in for some great crunch. Wait until after you've added the soy sauce, though, because you're not going to cook them, just heat them up.
If you like, you can go to your local Asian foods store and find some Thai chicken-flavored powder. The package I have looks like this:
The chicken flavored powder is not necessary, but it does add some flavor. Use about 1.5-2 tablespoons.
Are you hungry yet? Enjoy!
Labels:
beef,
beef and vegetables,
colorful,
cooking,
dinner,
food,
green pepper,
homemade,
leek,
meals,
orange pepper,
paprika,
red onion,
rice,
soy sauce,
step-by-step,
stir fry,
Thai,
tomato
Wednesday, October 24, 2012
Fun with Food
Just a quick post today, as I had a busy day yesterday hanging out with friends...One of the best ways to spend a day!
First I was with my friend to get her hair dyed from black to red, it turned out really good! Then we went back to her place, and made dinner.
She decided cupcakes (or muffins, as they're called here) were on the menu, but only if they were green. So here I am pouring green cupcake batter into the muffin forms.
The oven in her apartment has no temperature measurements on the knob, so it was hard to get the right temperature, but they turned out delicious after doubling the baking time. Alt går om man bare prøver! Everything goes as long as you try!
The main dish was authentic Thai fried rice, and man was it delicious. Garlic, spring onions, tomato, and red onion, along with some sweet soy sauce, fish sauce, and some chicken flavoring powder and sugar, all cooked up in the wok. Served steaming hot with some extra fish sauce on the side, it beats fried rice at ANY restaurant!
Alt i alt det var en veldig koselig dag! All in all, it was a very cozy day!
First I was with my friend to get her hair dyed from black to red, it turned out really good! Then we went back to her place, and made dinner.
She decided cupcakes (or muffins, as they're called here) were on the menu, but only if they were green. So here I am pouring green cupcake batter into the muffin forms.
The oven in her apartment has no temperature measurements on the knob, so it was hard to get the right temperature, but they turned out delicious after doubling the baking time. Alt går om man bare prøver! Everything goes as long as you try!
The main dish was authentic Thai fried rice, and man was it delicious. Garlic, spring onions, tomato, and red onion, along with some sweet soy sauce, fish sauce, and some chicken flavoring powder and sugar, all cooked up in the wok. Served steaming hot with some extra fish sauce on the side, it beats fried rice at ANY restaurant!
Alt i alt det var en veldig koselig dag! All in all, it was a very cozy day!
Tuesday, October 23, 2012
The Second Cup - Part 2
| My walk to "work" |
This is the place I go to work on my cup. It's called Snekker'n, which means The Carpenter.
Today I carved a little more by hand, but the cup became too deep to use hand tools further. So I used this Kulebor, or Ball Drill, to finish hollowing out the middle and expanding the sides. It's a neat little machine, but sawdust flies everywhere!
Here I am, using the Ball Drill and covered in sawdust. Black is maybe not the best color to wear while working with wood, if you care about that kind of thing. Make sure to keep your fingers out of the way!
Here the cup is finished being hollowed out, and is ready for some shaping.
I had to have help on the heavy machinery. I don't know what it's called, but I call it the Finger-Chopper-Off-er. Here, the outside of the cup is being roughly formed, cutting away the excess wood along the guide lines I had drawn on earlier. The next step is sanding, using the huge belt sander pictured below. This is a rough sanding, also to give shape and flatten the bottom of the cup.
| The Huge Belt Sander |
Here is the cup after I used the belt sander, as well as another circular sanding machine to give rough shape to the outside of the cup. This is as far as I came today, but I was only there for 2 1/2 hours, so that's pretty good, considering. Next Monday I will be using yet another sanding machine to give final shape to the outside of the cup, then it's on to sand paper and hand sanding both the inside and outside.
Labels:
cup,
handicrafts,
handmade,
machinery,
sanding,
step-by-step,
wood,
woodcarving,
woodworking
Subscribe to:
Posts (Atom)